iPhone Self Enrolment - New iPhone
This guide is for Oxleas staff who have just collected a brand new iPhone from IT.
Before you start you will need to make sure you know the following information:
Apple ID
If you do not already have an Apple ID (with your NHSmail address as your ID) please ensure you set up an account here.
If you already have an Apple ID but have forgotten the password, please reset it here.
Oxleas Computer Username & Password
What you login to an Oxleas PC or Laptop with.
Turn on the iPhone by holding down the side button for a few seconds

You should see the iPhone say Hello in various languages. Swipe up to open.

Tap English

Tap United Kingdom

Choose how big you want the text and icons to be, then tap Continue


Tap Set Up Without Another Device

At the Choose a Wi-Fi Network screen, select Continue Without Wi-Fi
If you do not have Continue Without Wi-Fi as an option, you should already be able to tap the blue Continue button.


However, if you are in a location with poor phone signal, and are struggling with the rest of the guide, you may find it helps to join a known Wi-Fi network instead.
If so, click the button below that best describes your current scenario.
Otherwise, continue to the next step.


Select your Wi-Fi connection from the list and enter the password. Once you are connected tap Next in the top right corner
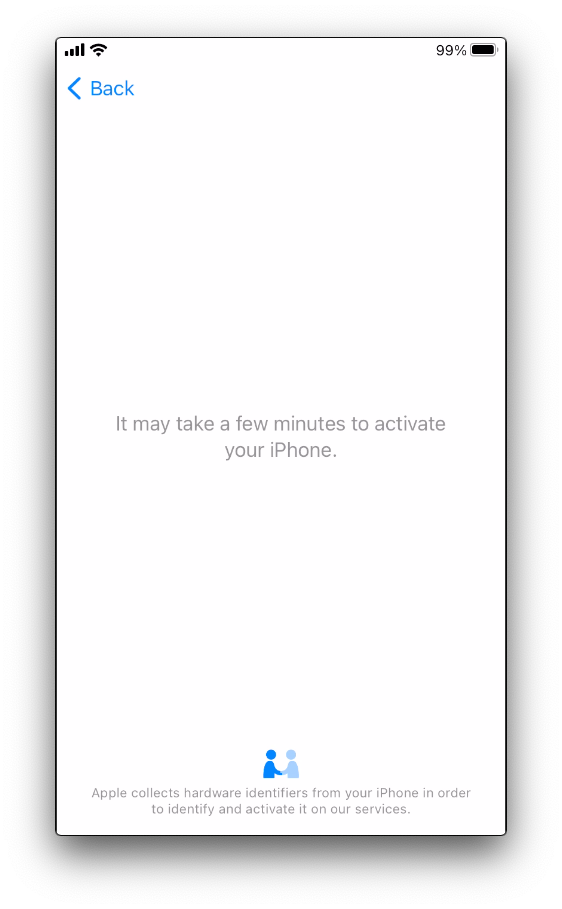
Wait for this screen to pass
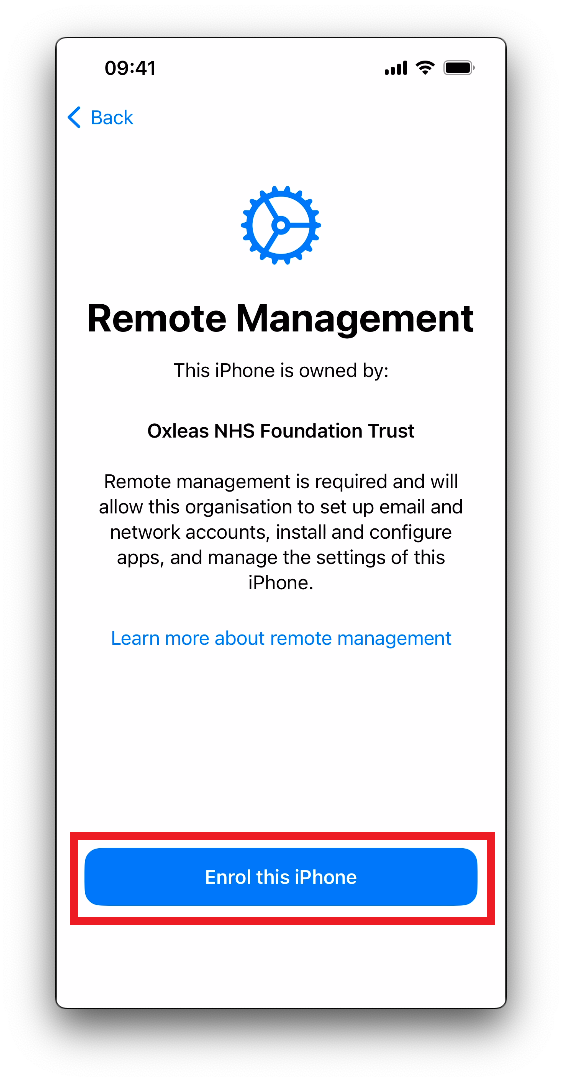
Tap Enrol this iPhone
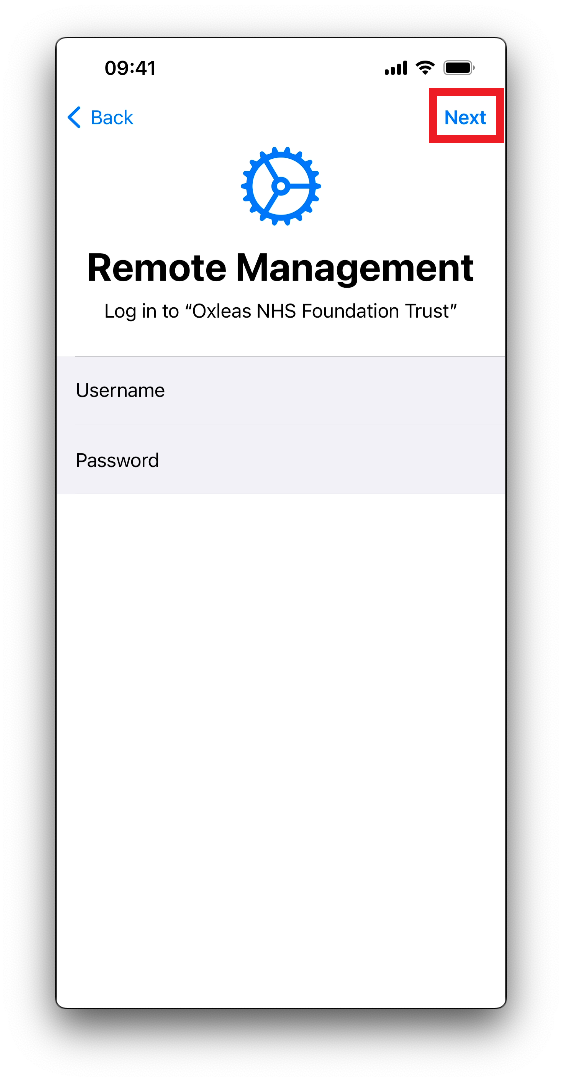
Enter your Oxleas Network Username and Password and then tap Next
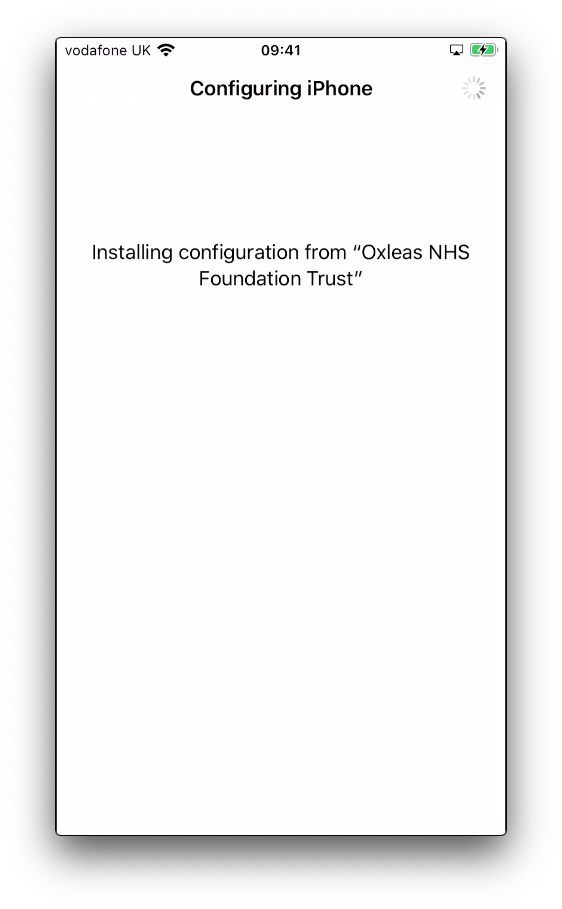
Wait for this screen to pass
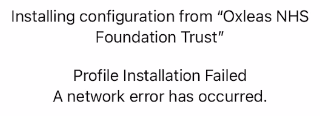
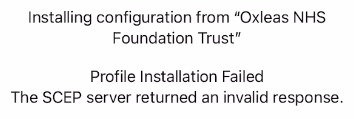
Potential Issue
If you receive either of the two errors below, tap Back and then Next again.
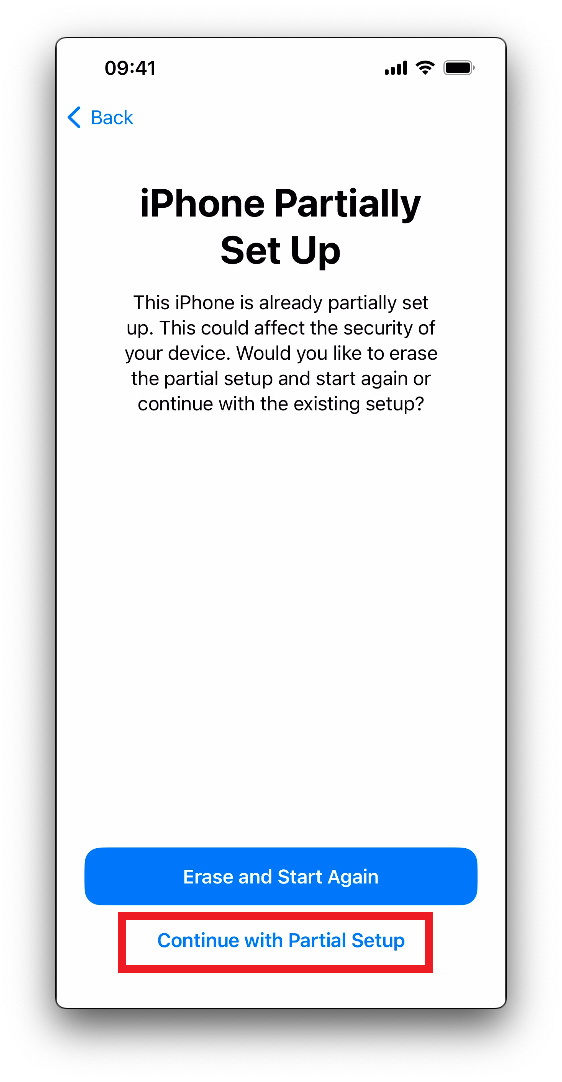
If after you tap Back you receive the screen below, tap Continue with Partial Setup.
Enter Apple ID
This should be set as your NHSmail email address, but the password will be different. This is what you were told to make in the prerequisites!
The field to enter your password will appear after you have entered your email address.

Wait for this screen to pass

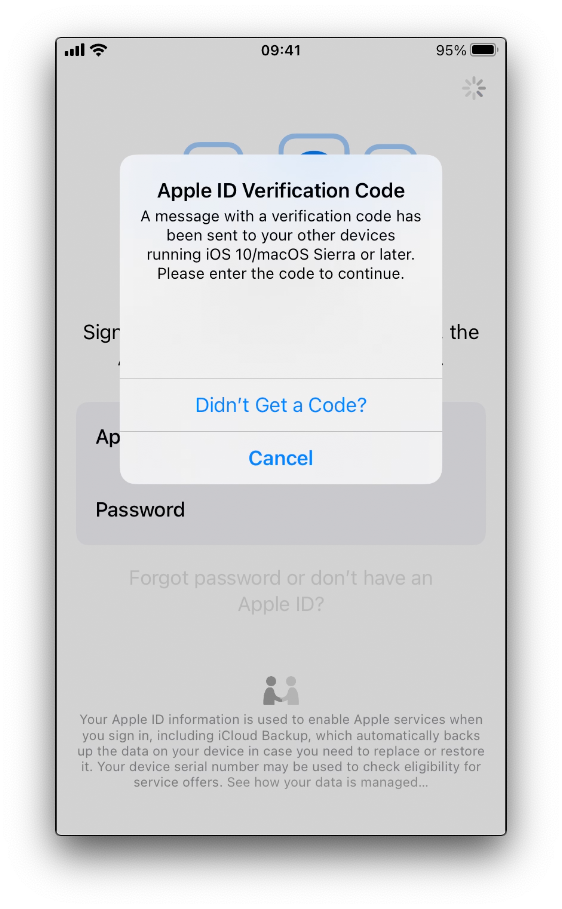
If you have 2 Factor Authentication enabled on your Apple ID, you may be asked to provide extra sign in information
You may be presented with Terms and Conditions, tap Agree

Tap Enable Location Services

Tap Continue

You may get the following two prompts, if you do just press OK


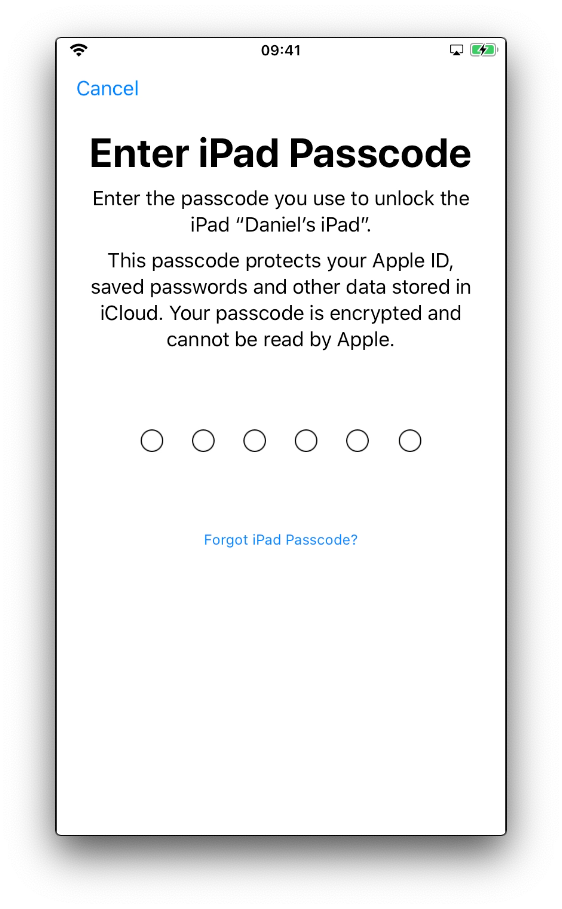
After a short while you will be asked to set a passcode on the device
This has to be 6 numbers. You will be asked to enter the passcode twice to confirm it.


When setting the passcode you may find that the keyboard disappears with the below message. Pressing OK will bring the keyboard back.

Once you have completed all of the above steps, please log a new request on the IT Service Desk confirming you have completed the enrolment guide.
Please note : the Asset number is on the back of the device (you may need to remove the case) it starts with OX, please do not use the Stock Number.
A member of the 2nd Line Support team will then contact you to complete the setup process.
Until you do this, your iPhone will not be fully setup and will be missing all Oxleas apps, web clips and NHSmail configuration.