
Oxleas Always On VPN
In most scenarios, the Oxleas Always On VPN should automatically connect. However if you are having issues please try the guides below.
Please make sure you have first signed into the Laptop when it is connected to the Oxleas network, either via a network cable, WiFi, or Docking Monitor. This caches your credentials on the laptop.
You do not need to connect to the Oxleas Always On VPN if you are already connected via Oxleas WiFi or an Oxleas O2 SIM.
What operating system are you using?
Windows 10
How to connect
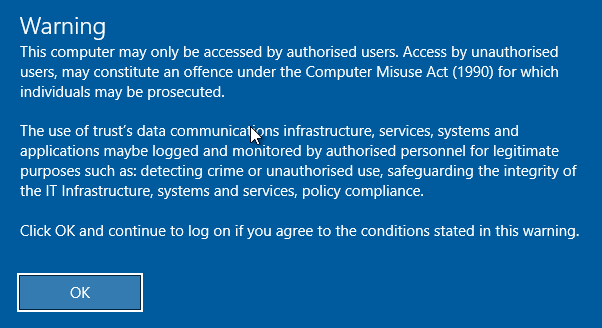
- When the laptop is turned on and Windows has loaded you will see the screen below.

- Press the Ctrl+Alt+Del keys on your keyboard to unlock the login screen.
- Select OK on the next prompt.
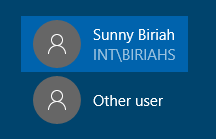
- If you were the last person to sign in you will see your Name and Username.

- If you see a colleague's name, select “Other user” in the bottom left corner of the screen.
- On the bottom right corner of the screen click on the WiFi icon (shown on the left).

- Connect to your WiFi and once the connection is established, you should see Connected near the top.

- Type in your network password as you would if you were at work.

- Once logged in, on the bottom right of the screen, click on the WiFi icon.

- Click on Oxleas Always On VPN. It should automatically connect and state connected.

- If it does not automatically connect, click on Connect. It can take a few seconds for the connection to establish.


Once connected, you can access the G and H drives and Oxleas systems.
Windows 11
How to connect
- When the laptop is turned on and Windows has loaded you will see the screen below.

- Press the Ctrl+Alt+Del keys on your keyboard to unlock the login screen.
- Select OK on the next prompt.

- If you were the last person to sign in you will see your Name and Username.

- If you see a colleague's name, select “Other user” in the bottom left corner of the screen.

- On the bottom right corner of the screen click on the WiFi icon (the first of the 3 icons).


- Connect to your WiFi and once the connection is established, you should see Connected near the top.

- Type in your network password as you would if you were at work.

- Once logged in, on the bottom right of the screen, click on the WiFi icon.

- Click VPN

- Click on Oxleas Always On VPNm, then click Connect.

- It will say Connected once you are connected.


Once connected, you can access the G and H drives and Oxleas systems.