Oxleas O2 SIM Guide
This guide shows you how you connect to the Oxleas network using an O2 SIM card in a Windows 10 Laptop.
Instructions
When the laptop is turned on and Windows has loaded you will see the screen below.
Press Ctrl+Alt+Del on your keyboard to unlock the login screen.

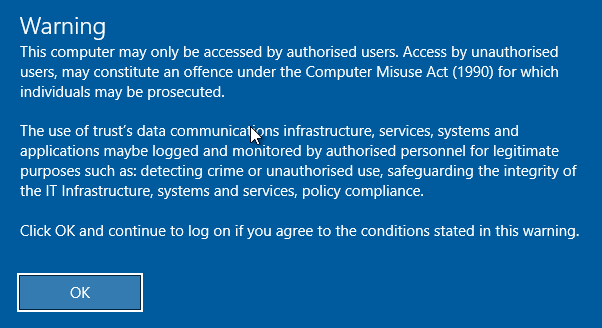
Select OK on the next prompt.
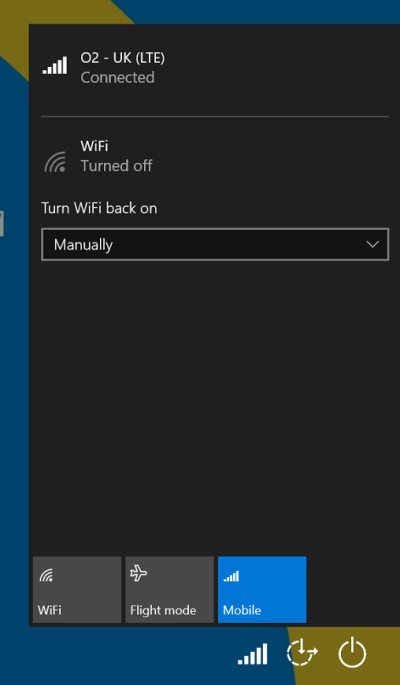
On the bottom right of the screen click on the Network icon (Which should look like a Signal Bar). This will show you if your connected to the SIM, Wi-Fi or Ethernet. If you are connected to another Wi-Fi please turn off your Wi-Fi, by clicking the icon so then it turns grey.
Once the connection is established, at the top it will show O2-UK Connected.
If you were the last person to sign, in you will see your username, if you see a previous staff members name select Other user on the bottom left of the screen
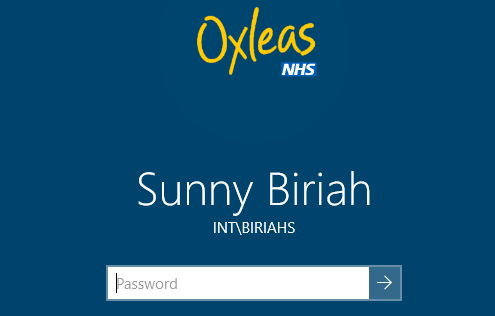
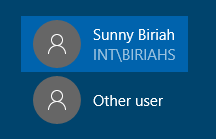
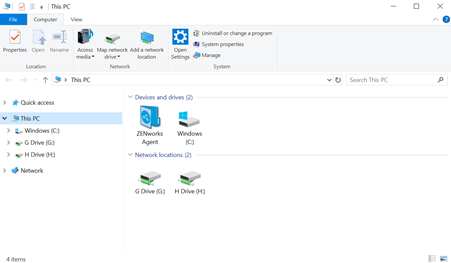
Type in your Username/Password as you would if you were at work. Once you have logged in you will have the same access as you would at work. Including your G: and H: drive
Troubleshooting
Once you are logged in, if you are having issues connecting to the Network Drives or Trust Sites, please follow these steps to resolve this issue.
- Once logged in, locate the Desktop icon labelled SIM Settings

- Double click, the task will take approximately 45 seconds to run, once complete, a confirmation message will appear on the taskbar.

- If you are still having issues, restart your Laptop.
- If you still have issues, check the O2 Status in your current area. You can also check the O2 Coverage for your current area.